How to connect Wren to ChatGPT with MCP
Connect once, then work from the same page
Wren exposes a connection so that an MCP-capable chat client, such as ChatGPT, can work with the notes you already keep. The Model Context Protocol (MCP) is an open standard for letting a chat client call a tool server. Wren runs one of those servers.
The idea is simple: instead of copying a note into a chat and pasting the answer back, you connect the client to Wren once. After that, the chat can read the page you are studying and add to it, and the result lives with your other notes rather than inside a separate conversation.
This guide covers the connection itself. The companion guide on authentication and permissions explains what the connection is allowed to do once it is live.
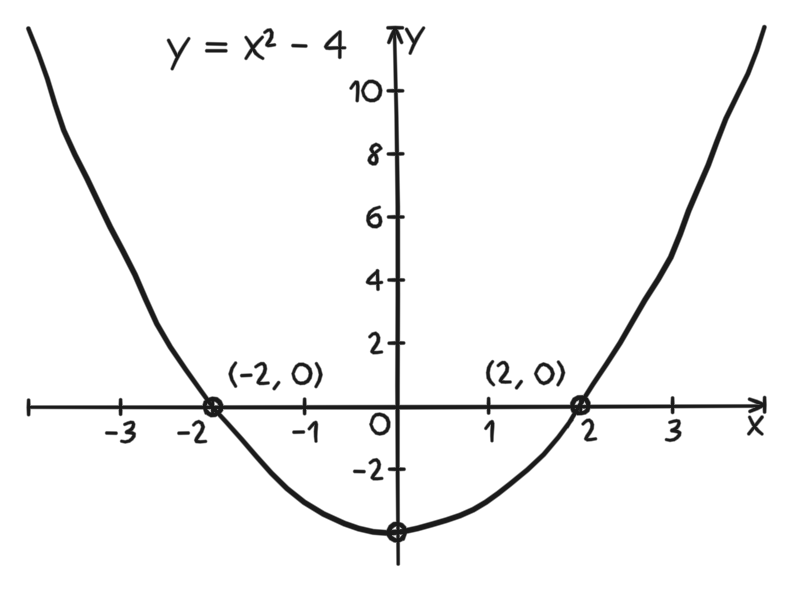
Figure 1. A verified PencilKit graph fixture. It shows the kind of handwritten page a connected client reads from and writes to in Wren, rather than a screenshot of the chat client.
What you need before you start
- A Wren account you already use. The connection signs in with that same account.
- A chat client that can add an MCP server over streamable HTTP. ChatGPT is one such client.
- The production endpoint URL, below.
You do not need a new password, a separate Wren workspace, or any copied token. The sign-in happens through the connection step itself.
Step 1: Add Wren as an MCP server
In the client, add a new MCP server and give it the Wren production endpoint:
https://mcp.wrenapp.ai/mcp
A few facts about this endpoint help you recognise a correct configuration:
- It is a single HTTP endpoint, not a websocket.
- It accepts
POSTrequests and uses streamable HTTP for responses. - It is stateless at the transport level, so the client sends each request on its own rather than holding a long-lived socket open.
The exact field labels and menu location for adding a server differ between clients and change over time, so follow your client's own instructions for where to paste a server URL. The value you paste is always the endpoint above.
Step 2: Sign in with your Wren account
When the client first contacts the server, Wren asks you to sign in. This uses OAuth 2.1 with PKCE (the S256 challenge method), which is the standard secure sign-in flow for this kind of connection. In practice that means:
- The client opens a Wren sign-in page.
- You sign in with the same Wren account you use elsewhere.
- Wren hands a credential back to the client so it can make calls on your behalf.
You never paste a Wren password into the chat client, and you never copy a token by hand. The sign-in page is where you grant access, and you can read exactly what you are granting in the authentication and permissions guide.
Step 3: Confirm the connection is live
A connection that appears in a settings list is not proof that the server answered. Confirm it with a real exchange.
When an MCP client connects, it runs an initialize handshake with the server. A correct Wren connection returns:
- a server that identifies itself as wren, version 0.1.0
- the MCP protocol version 2025-06-18
If your client shows the connected server's name and version, check that they match. If the handshake fails, the most common causes are an incorrect endpoint URL or an interrupted sign-in. Re-paste the endpoint from Step 1 and run the sign-in again.
Step 4: Read and write your first note
Once the connection is live, the point of it becomes clear: the chat can work with a real Wren page instead of a throwaway message.
- Ask the client to read a note so the chat has the same context you do.
- Ask it to add something useful to that note, such as a structured list, a definition, or a visual the page is missing.
What Wren can place on a page is the same set of things it places when you work on iPad: graphs, diagrams, formulas, and short explanations, drawn in handwriting-matched ink. The addition belongs to the page, so when you open Wren again the note is there with everything else.
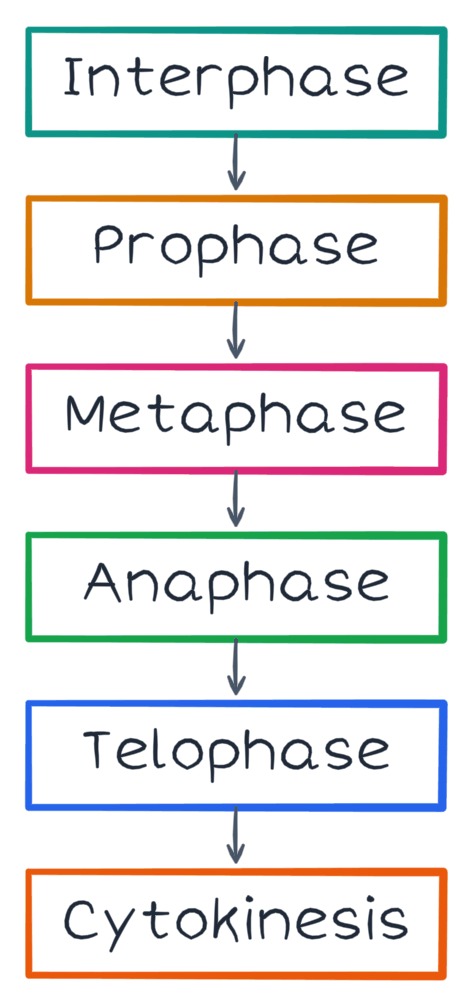
Figure 2. A verified PencilKit flowchart fixture. It illustrates a structured note an MCP connection can reference and build on, not a view of the chat client itself.
A first-connection checklist
- Add the server at
https://mcp.wrenapp.ai/mcp. - Complete the Wren sign-in when the client prompts you.
- Confirm the connected server reports name wren, version 0.1.0, protocol 2025-06-18.
- Read one existing note to prove the connection works both ways.
- Add one small, useful item to that note and check it in Wren.
If every step holds, the connection is working and you can move on to deciding what it is allowed to do.
Common questions
Does connecting move my notes out of Wren?
No. The connection lets a chat client read and write the notes that stay in your Wren account. The page remains your note; the client works with it in place.
Why does the handshake show a version number?
The initialize handshake is how the client and server agree on what they support. Checking that Wren reports server version 0.1.0 and protocol 2025-06-18 is the quickest way to confirm you reached the real Wren endpoint and not a stale or misconfigured one.
What should I read next?
Read the authentication and permissions guide to understand exactly what the connection can do once you have signed in. Then see how Wren adds AI ink to a handwritten page for what the writes themselves look like on the page.