How to use Wren's canvas for connected thinking
Give the idea room to connect
Some topics do not fit in a straight line.
A linear page works when you are recording what happened in order. A canvas helps when you need to see what causes what, where two ideas meet, or which step you keep forgetting.
Use the canvas when the relationship is the thing you are trying to understand.
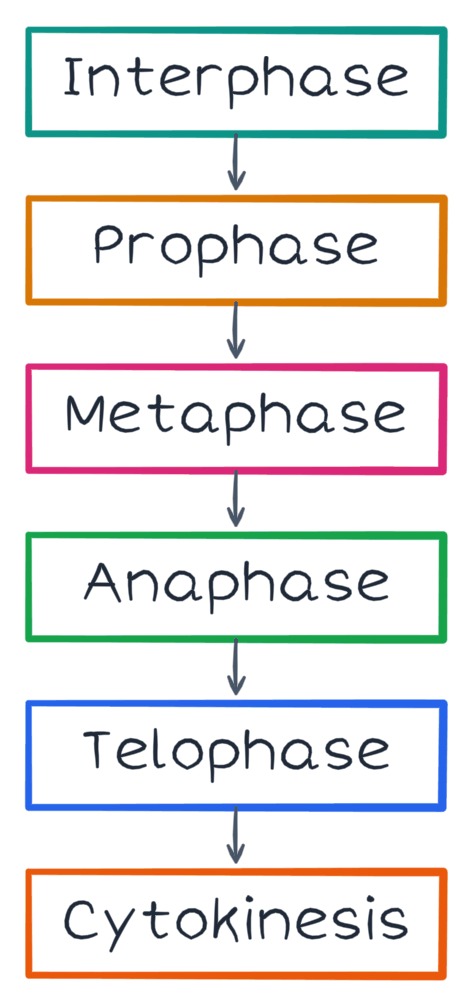
Figure 1. A verified PencilKit flowchart fixture. The point is not the subject itself. It is the visible sequence between ideas.
Step 1: Start with one anchor
Write one question in the middle of the workspace.
It can be a process such as “How does mitosis move from one stage to the next?” It can be a decision such as “Which formula applies here?” It can be a comparison such as “What changes when this variable changes?”
Do not begin by spreading every note you own across the canvas. Begin with the one relationship that is currently hard to explain from memory.
Step 2: Add the pieces you can already name
Put your own notes around the anchor first.
For a process, write the stages you remember. For an essay, write the claim and the evidence you have. For a problem set, write the equation, known values, and the rule you think applies.
The first pass can be messy. It should show what you know before you ask Wren to make the structure clearer.
Step 3: Add one visual connection
Now choose the visual that answers the question.
- Use a flowchart for a sequence or decision.
- Use a diagram for parts that need labels.
- Use a graph for a relationship that changes.
- Use a formula when the page needs a rule beside the example.
The visual should make one connection easier to see. If it tries to explain the whole unit, it will probably be too much for one review session.
Step 4: Read the canvas out loud
Move through the canvas from the anchor to each connected note.
Can you explain why one stage leads to the next? Can you point to the evidence behind your claim? Can you say which part of the equation changes the graph?
If you cannot, that is useful information. Add a short note at the break in your understanding. The canvas gives you a place to return to instead of hiding the gap in a longer paragraph.
Step 5: Turn the map back into study actions
A canvas is not finished because it looks organized. It is finished when it tells you what to do next.
Choose one branch to practice. Write one question you still cannot answer. Link the map to the page where you will solve a problem or review a definition. That turns a visual layout into an actual study plan.
A canvas routine for a hard topic
- Write the central question.
- Add only the notes you can explain already.
- Use one visual to reveal the relationship.
- Mark the branch you cannot explain yet.
- Return to that branch after a short practice session.
Common questions
Is a canvas only for diagrams?
No. A canvas can hold equations, short explanations, arrows, examples, and diagrams. Use it when the connection between those pieces matters.
What if the canvas becomes crowded?
Keep the anchor and the one branch you are studying. Move the rest back to a normal page. The canvas should lower the effort of review, not make every idea visible at once.
What should I try next?
Start with AI ink on a handwritten page when one small visual is enough. When the map is ready, use the review-and-organization guide to decide what belongs in your next study session.